GreenRope Blog
Title search: ✖
|
Show All (634)
#CoolerChat (7) AI in Business (2) All About GreenRope (166) Content Marketing (55) CRM (188) Customer Experience (78) Digital Transformation (20) Email Marketing (7) Event Recaps (2) Everything Small Business (47) How-To (135) In the Clearing with Lars (25) Infographics (3) Marketing (136) Marketing Automation (61) Monthly Updates (38) Press Release (2) Sales (72) SMB (132) Social Media (14) Tidbits for You (106) Websites & SEO (4) Weekly Roundup (13)
10 Surprising Things You Didn't know about Client Services & Search Marketing Manager, Lisa Frampton
Disqualifying Leads Without Alienating Them as Future Customers - Part 2: Cultivating Non-Leads with Automated Marketing
4 Ways to Get Your Email Marketing in Front of the Right Audience Through Personalization & Segmentation
Total Cost of Ownership: What does it mean and how can you avoid costly, unsuccessful implementations.
|
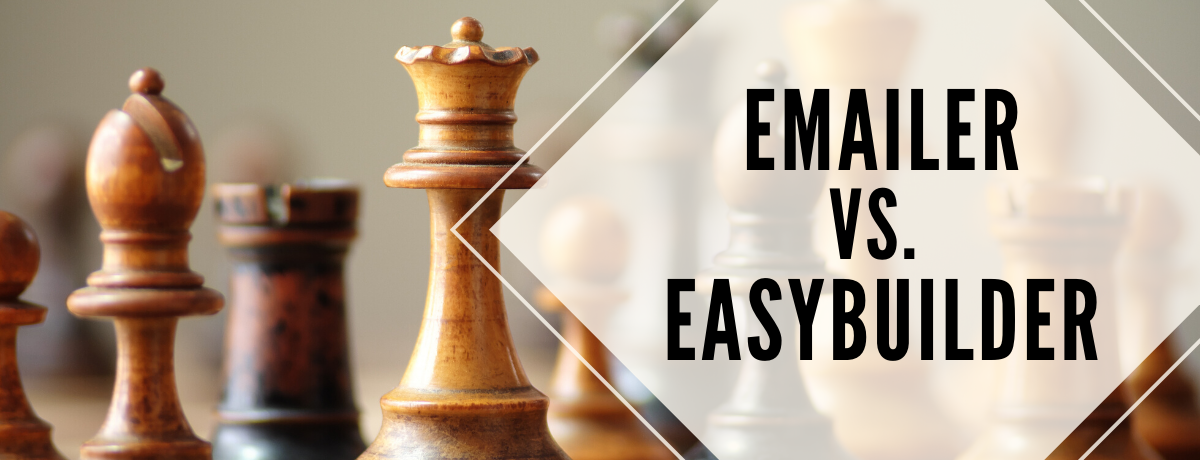
Email EasyBuilder vs. Emailer, Feature Differences By Madison Ervin and Ian Cuatico
Emails are not going away and there’s a reason why businesses use this marketing tool everyday! Not only are emails a great way to communicate with your customers directly, but they can be used to nurture leads and educate them on your special business offerings. This blog covers all the ways you can use GreenRope’s emailing features to maximize your marketing efforts and create beautiful content pieces to share with your contact list. This article covers:
What’s the difference between the EasyBuilder and Emailer? All of your email marketing efforts can be found in the “Communicate” dropdown of your CRM panel. The EasyBuilder is a great place to start when designing your template structure. Using the drag-and-drop functionality, design the layout of your email template. We like to think of this as the planning stage. In the “Actions” drawer on the top-right, you can access pre-built templates and save your own templates to use for a variety of purposes. When you’re ready to dive into further editing, testing, and sending your email, hover over the Actions drawer to save it to the Media Library. The Emailer editor is where the magic happens. First, load a template by clicking on the “open” icon in the toolbox to select from the emails stored in your Media Library. The Emailer area gives you the freedom to further customize your email using the WYSIWYG toolbox options or access the html in the “Source'' area. Make sure to preview and test your email before sending it out to your contacts! About The EasyBuilder:
EasyBuilder Benefits:
About the Emailer Editor:
Emailer Editor Benefits:
Email Sending Check-List: Emails are a great way to nurture your contact list by providing content that benefits both your readers and your business.
To maximize your email marketing efforts and increase engagement, here’s a few additional resources we hope you find helpful:
Share: Share Category "All About GreenRope": Share Category "Content Marketing": Share Category "CRM": Share Category "Marketing": Share Category "Tidbits for You": |